 Mega Bored

You don’t have to go to the salon to get professional-looking manicure and pedicure. You can get the same fabulous results at home by following these tips straight from professional manicurists and pedicurists:
Step 1: Prepare the Manicure/Pedicure Tools
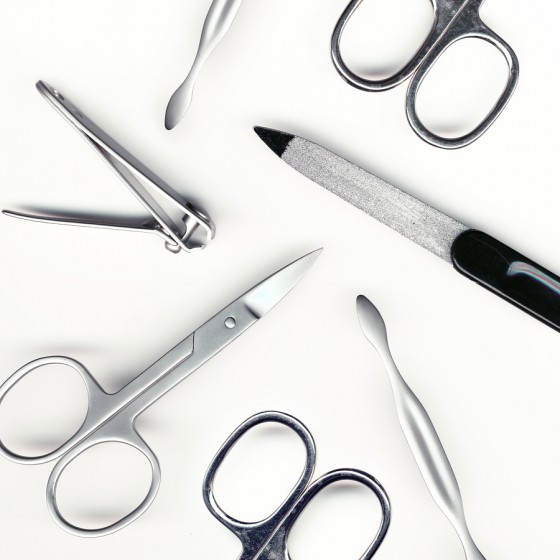
Before prepping the nails, you want to make sure all the tools you need to do your nails are within easy reach. Get a hand towel, base, and topcoat, nail color, cuticle pusher, a nail cutter, a buffing board and a nail file. Make sure all nail tools are clean and sterilized to prevent infection.
Prepare the nail treatments in advance too. Have a basin, foot/hand soak solution, glycerin-based hand and foot cream handy. Keep a mild body scrub, and a body towel ready too.
Step 2: Prep the Nails
You want to start with clean toenails by soaking the feet for 2 minutes. Then, using a gentle sugar scrub, give your hands a massage to remove dead skin cells and banish calluses. Do not use alcohol-based cleansers or solvents. These cleansing products will only worsen dryness.
After a good hand massage and scrub, rinse with tepid water then pat dry. Follow up with a hydrating cream formulated with glycerin. Wear a pair of socks to help the product sink in. Now prep the fingernails using the same steps.

Step 3: Shaping the Nails
At this point, you will clean your nails and shape them any way you like. If you want a low-maintenance nail shape, your best bet is an oval shape. Oval shaped nails are less likely to break or snag. This style is universally flattering. If you want to keep your nails neat looking, go for a square shape. The square shape is perfect for vivid nail colors.
Using a nail file, file from the outer edge of the nails then towards the center in one direction. Do not file back and forth in a seesaw motion. The motion will cause microscopic tears into the nail, causing nail splitting and breaking.
As far as cuticles go, do not push them back or clip them away. Removing the cuticles will make the nails vulnerable to infections. Instead of cutting the cuticles back, use a cuticle softener to make the cuticles less noticeable. Dry cuticles stand out more because of the white, ragged skin. By keeping the moisture level up, the cuticles will not stand out.
Apply Your Base
When it comes to nail products, you cannot go wrong with solvent and chemical-free formulations. So with a proven safe basecoat, apply a thin, even layer on the nail. Never skip the basecoat. This product will protect your nails from yellow stains. It will also boost the staying power of your nail polish. Let the base coat dry before applying another coat or adding a layer of polish.
Applying the Nail Polish
Make sure to use a safe nail polish free from “the big 3,” formaldehyde, toluene, or dibutyl phthalate (DBP). These chemicals could damage the nail bed, cause allergies, and affect the immune system. The big 3 are also linked to cancer and are harmful to developing children.
Apply an even layer of nail polish on the nail starting from the inner surface before moving to the center and then the other side of the nail. Do not worry if the application is uneven, you will apply another or more layers to even out the color.
Applying the Top Coat
The top coat will protect the nail polish, keep the finish shiny, and prolong the lacquer’s staying power. Apply an even layer on semi-dry nail polish and leave to dry.


